This post gives useful tips on how to setup your bitcoin wallet on test/production to be used with Blockonomics to accept bitcoin payments
Resources
| Youtube Video | https://www.youtube.com/watch?v=OgShmVpep2U&t=10s |
Test Environment
Here are the steps for test environment
1. Setup Electrum Wallet
Electrum wallet is an open-source Bitcoin wallet that is known for its speed, safety, and simplicity. For creating an Electrum wallet we need to go to the Electrum website .
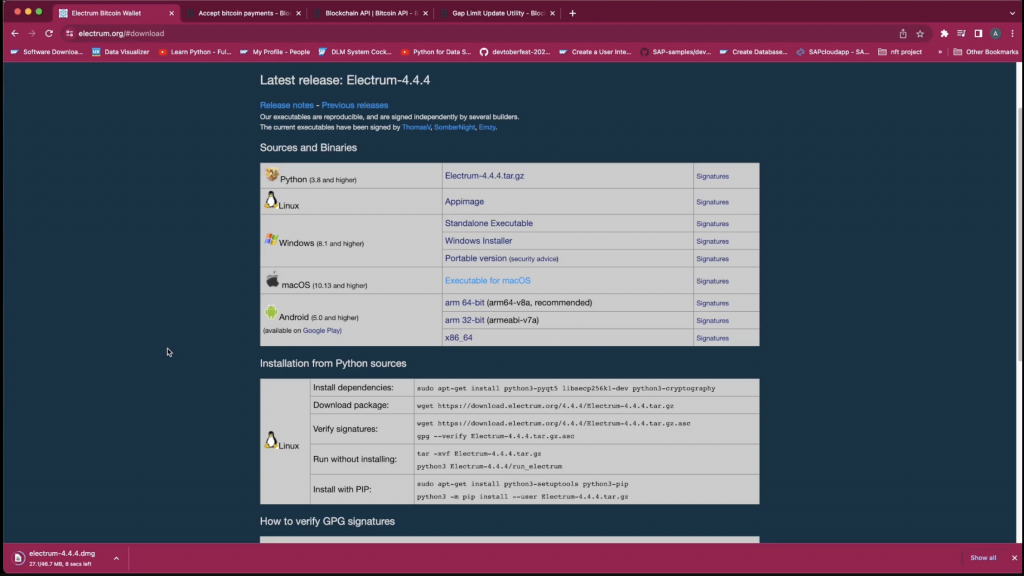
Then select the Electrum wallet version for downloading based on the type of the operating system
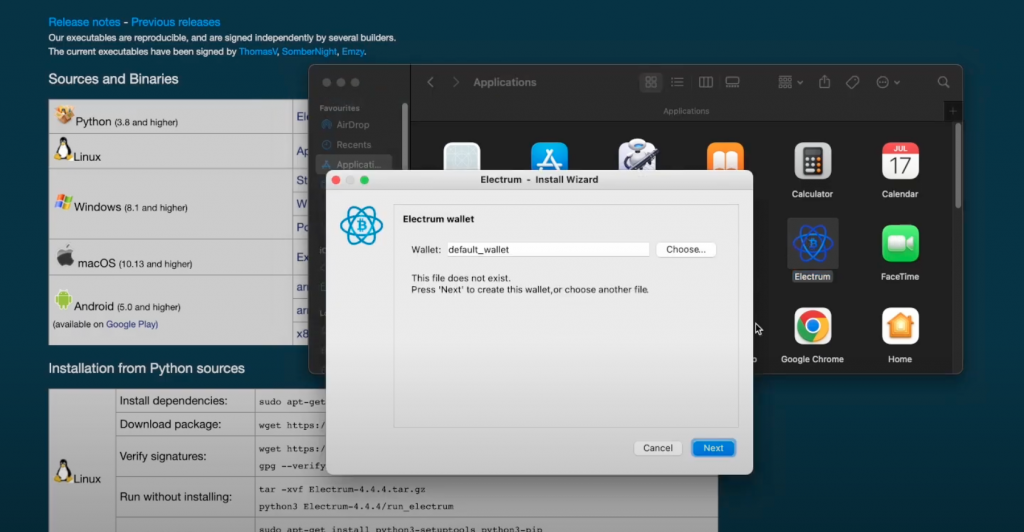
After downloading the Electrum wallet we need to configure the wallet. Then choose the default_wallet name and click the next button.
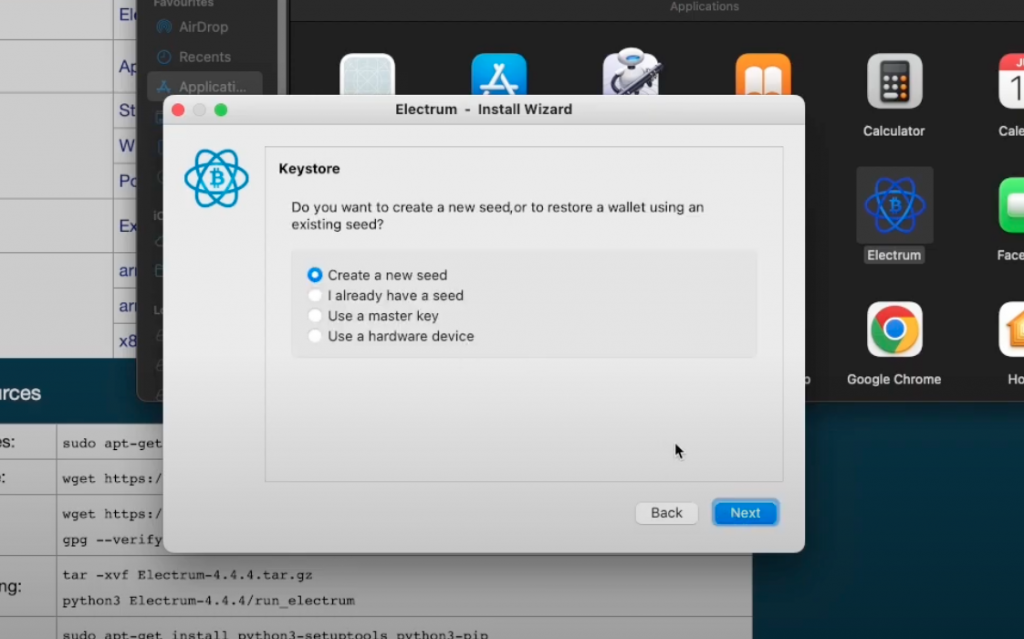
Then it will ask for the Keystore in that we need to select the option of creating a new seed. The new seed is a secret key made of 12 words.
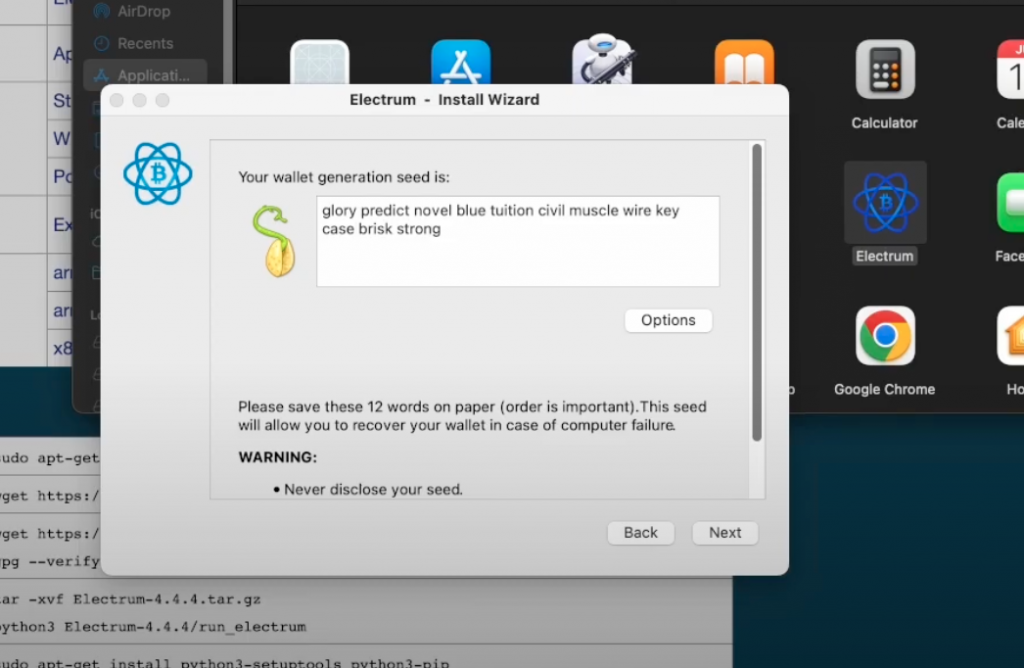
Then it will show you 12 secret words as you can see in the image below which you need to save so that in future you can recover your wallet using the secret word.
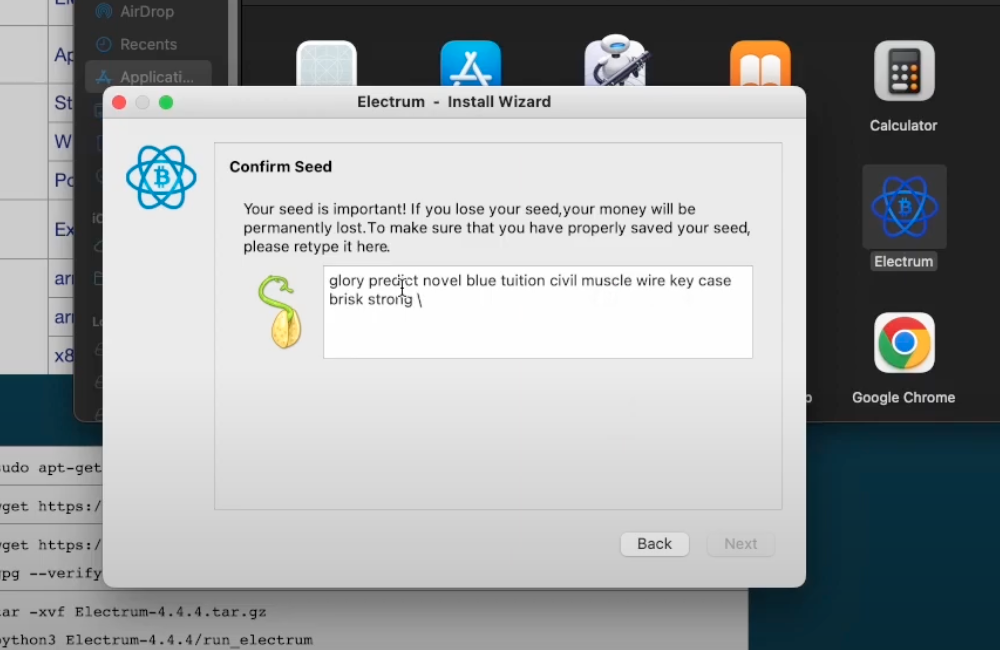
After that, we need to confirm the seed by manually entering the seed and clicking next. After that, it will ask you to enter and re-enter the password.
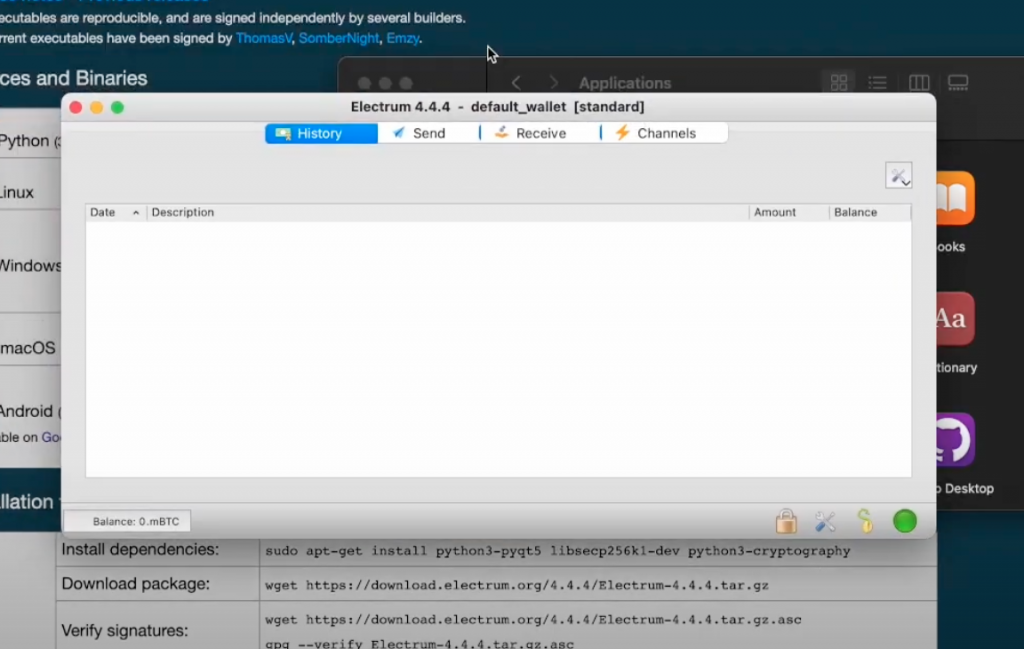
Finally, our wallet is ready to use.
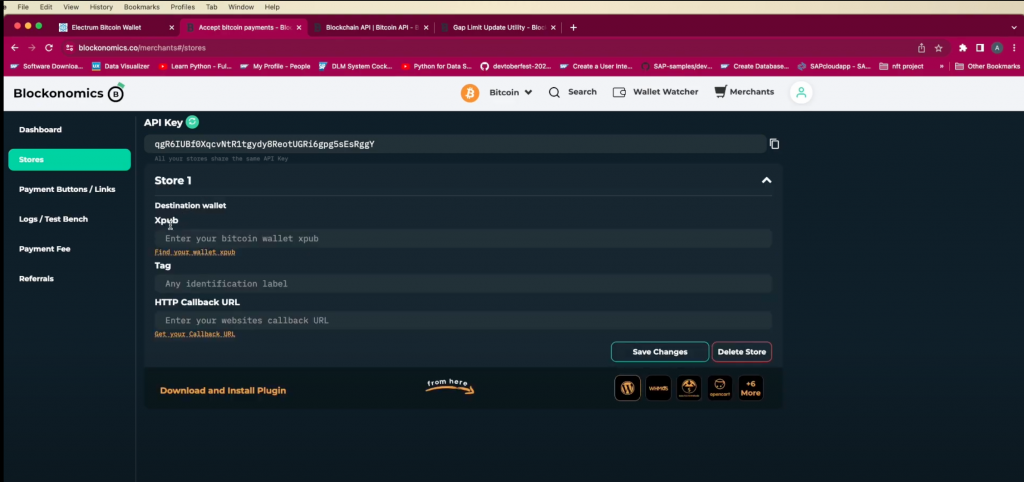
2. Integrating your Store
After creating the wallet, you can integrate the wallet with your store. The stores can be created or updated under Blockonomics Merchants > Stores. To create a store, you will need the Xpub key you obtained when you created your wallet, and, then, you will need a sample receiving address. For generating a receiving address, we will use the Electrum wallet
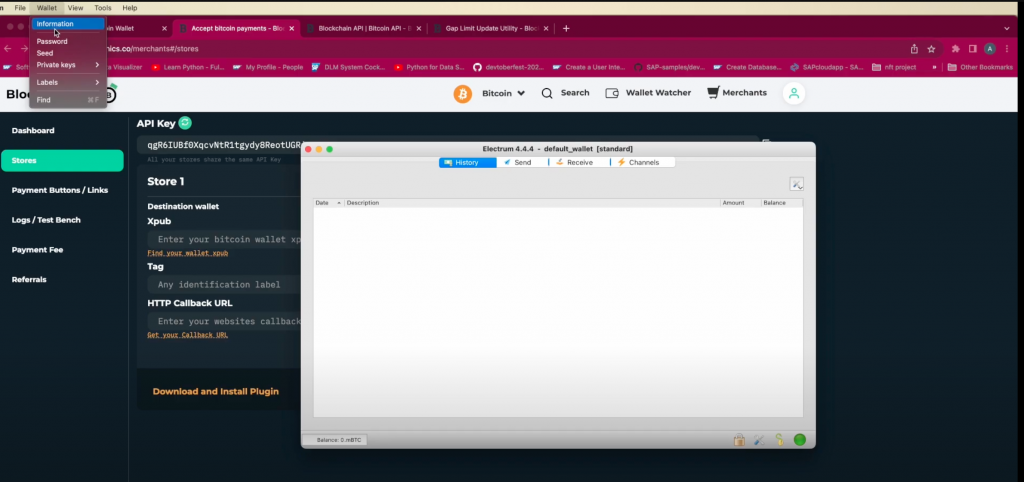
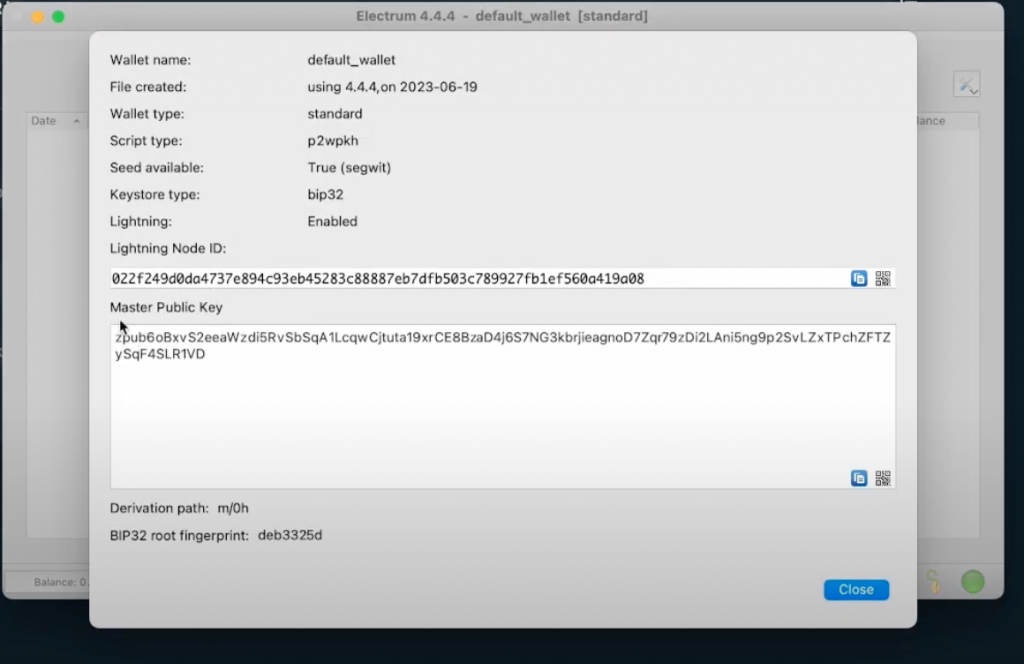
In the Electrum wallet, you need to go to Wallet>Information then it will show the Xpub and paste it into the Xpub section of the Blockonomics.
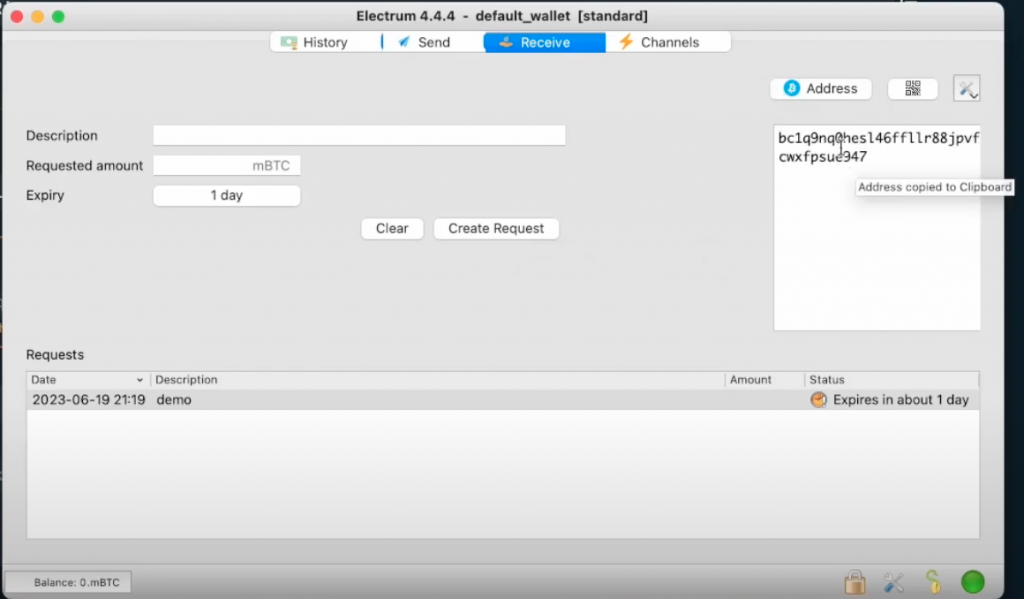
Then we need to get the receiving address from the Electrum wallet for that in the wallet you will see a Receive section in the wallet. After clicking on that it will show you the receiving address. By entering the description and then Click on “Create Request” it will show the receiving address inside the block. After that, you can paste the receiving address in the receiving section and then the store is created.
Finally, the store is created with Electrum wallet. Once the service has been integrated with your store, you can start receiving bitcoins through the new API address and http callbacks.
3. Fixing address generation issues
If you generate lots of addresses in testing you may recieve an error like below:Gap Limit Error: You are creating too many addresses/orders with no real payments
This is because you generated lots of orders without getting any real payments. This is a technical limitation in bitcoin HD wallets called gap limit . To know more read this article
There are two ways to solve the gap limit issue:
- Create another Electrum wallet and replace your destination wallet xpub in Merchant > Stores
- Configure 100 gap limit in electrum following instructions in this article
Wallet Setup for Production Environment
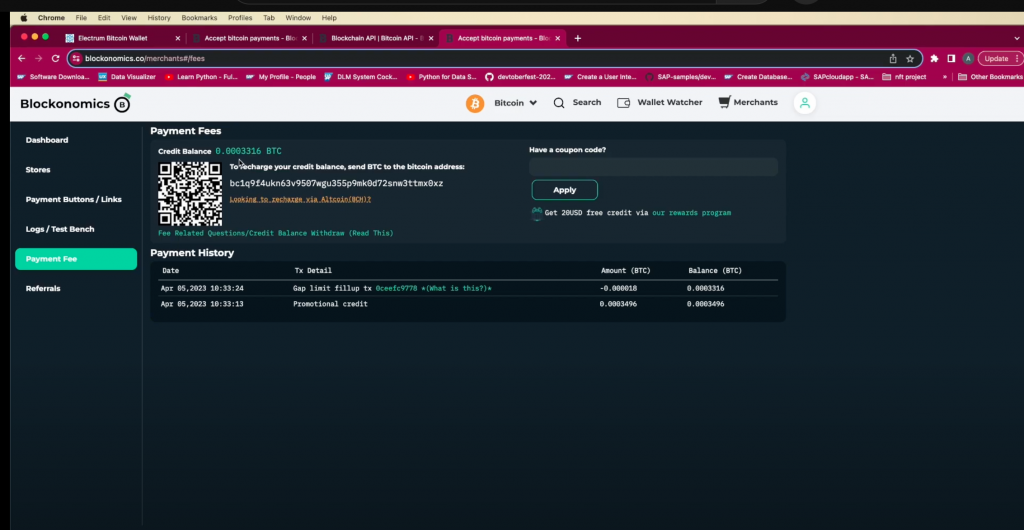
In the production environment if we face the issue of the GAP limit then we cannot change the XPUB multiple times or create multiple wallets as this is not a feasible solution. So Blockonomics came up with the solution for the credit system which you can find at Blockonomics>Merchants>Payment Fee . Here make sure the credit balance is positive and if it is not there then you can recharge it by sending a very small amount of BTC to the address shown below. Once it is done it will update the Credit Balance and display it on the payment fee page. So whenever there is a GAP limit problem, Blockonomics will use this credit amount and auto-fill the gap limit as you can see in the image below